Powdered dyes ought to come with a hazardous substance warning! If they aren’t handled cautiously you can ruin a good kitchen using them! White melamine kitchen surfaces especially can end up a patchwork of medium olives on white, or whatever, even if you spill just a drop. So pay care and attention to protecting any surface you are going to work on.
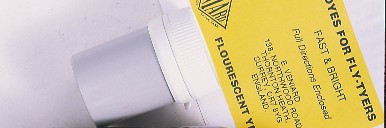
Veniard’s dyes come in small tubs (http://www.veniard.com/search_results.asp?search=dyes ) that are mighty expensive so, as with prime grade hackle capes, it might be an idea to buy your dyes in partnership with a few friends. But it must also be said that a small tub goes a long, long way, since with each batch of materials you dye, very little of the concentrated powder is used. The local agent in South Africa is Stream X (http://www.streamx.co.za/index.htm).
I am not that familiar with other commercially available dyes, other than to say that for fly tying purposes I have never liked the shades of colour they offer. The colours I mainly use are Golden Olive, Medium Olive and Bright Yellow, but Veniards has a list of 40 shades to choose from, including exotics like Fluoro Red and Fluoro Orange.
(Click in images to enlarge them)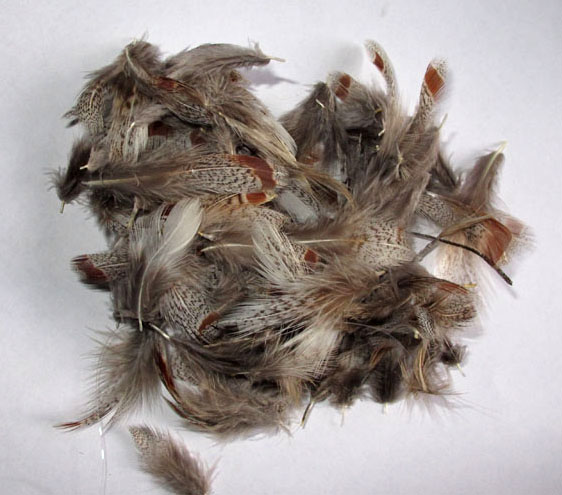

In the exercise illustrated here I am doing French partridge feathers for myself and two of my friends addicted to tying Papa Roaches and the like, and I will be aiming for two batches, one Medium Olive and the other Golden Olive. I explain the ‘batch dyeing’ process at the end of the article.
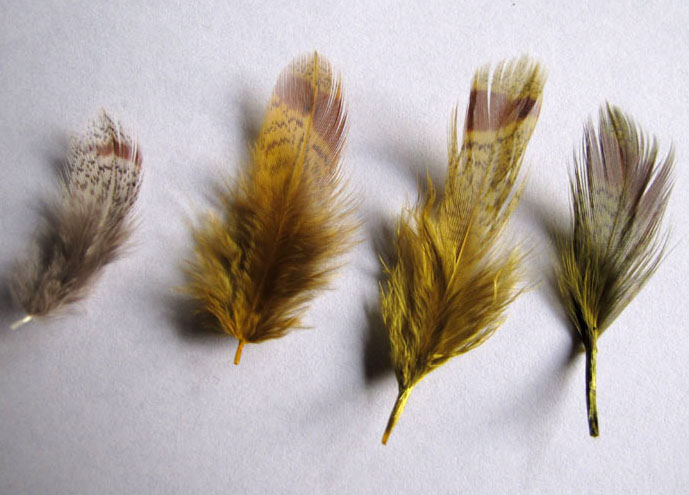
Left to right natural, golden olive, pale golden olive and medium olive French partridge
Preparation
The first thing you need is plenty of old newspapers to protect any surface you will be using and an old aluminium cooking pot well past its sell by date, because even metal pots will retain some colour stain in the dyeing process.
Cleaning the material you want to dye
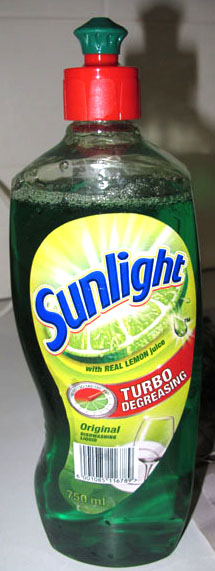
The first and most important step is to thoroughly clean the material you are going to dye. Put your pieces of fur or bunch of feathers in a bowl, add hot water and a teaspoon of household detergent. I use plain Sunlight and it works brilliantly.
Mix the detergent and materials well using your hands and let them stand for an hour or two. Drain off the water, add fresh hot water and more soap, mix well again and leave the bowl to soak overnight.
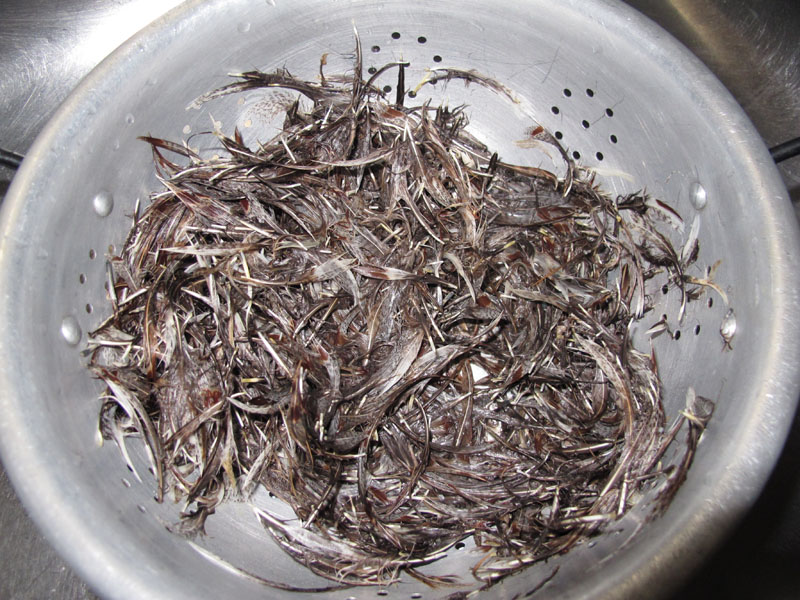
The following day when you are ready to begin the dyeing process drain off the water and rinse the fur or feathers thoroughly in colander under tap water to get rid of any trace of detergent.

Prepare surfaces
Meanwhile deck all the kitchen surfaces you will be using with whole newspapers, not just single sheets.
Volumes and mixing agents
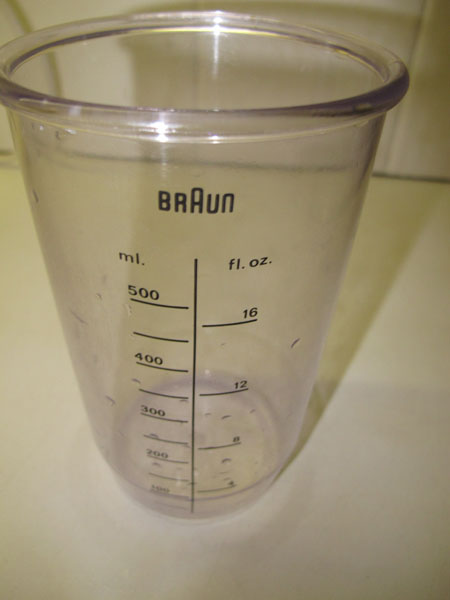
Measure out two pints (roughly one litre) of water using a measuring jar, add to an aluminium pot and heat it gently on the stove.
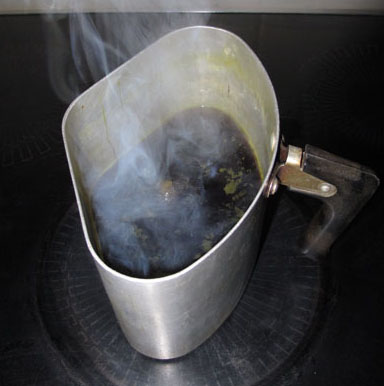
Add a half to one teaspoon (not heaped, just flat) of dye powder to the water, stir well and allow it to gently come to the boil.
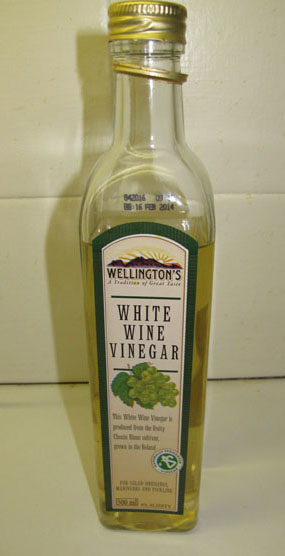
Add one tablespoon of vinegar per half-teaspoon of dye used. I mainly use a teaspoonful of dye, so I add two level tablespoons of vinegar at this point. This is a vital step as it will fix the colour for you. Stir well and bring the mixture off the boil to a gentle simmer. In my experience it doesn’t matter what sort of household vinegar you use.
Dyeing
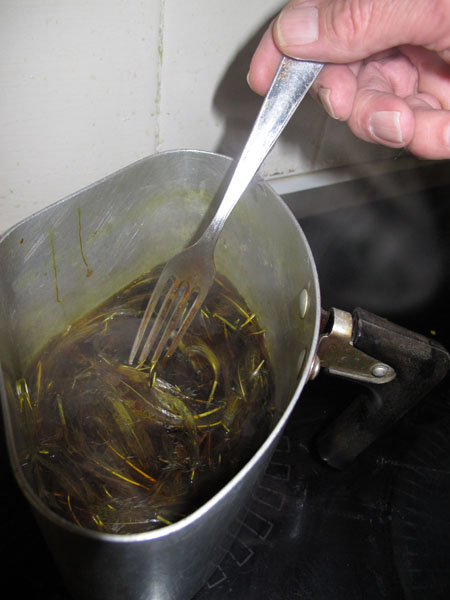
Now add the materials to the pot. It should only be simmering, not boiling. A little dyeing fluid goes a long way so you can add a heap of feathers or furs or pieces of deer hair to the pot. Be sure to break feathers up so that they don’t clump and stir the materials continuously to spread the dye evenly. I use an old fork for this because it allows me to lift sample pieces from the pot from time to time to check the colour.
Dyeing times
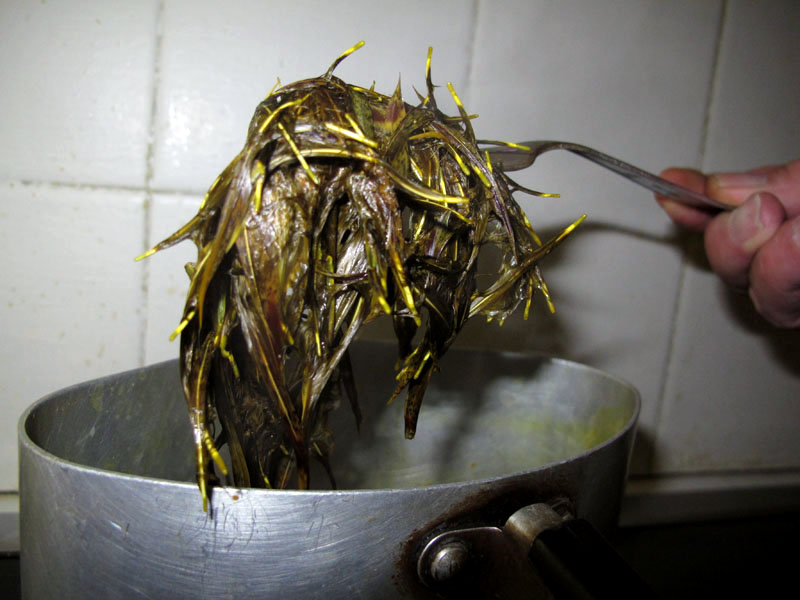
I find that furs and feathers are perfectly done after four to six minutes of simmering. With thicker fibred materials, such as Klipsringer, it may take a little longer. With deer hair or bucktail always make sure the dye has penetrated right down to the skin.
Draining and cleaning
Drain the pot of dye into a colander held over the kitchen sink. Wash the material well with tap water until all traces of dye colour have gone.
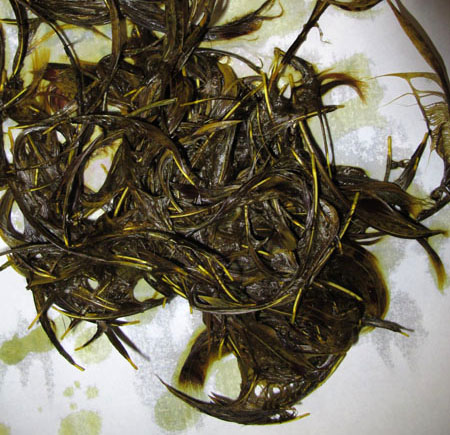
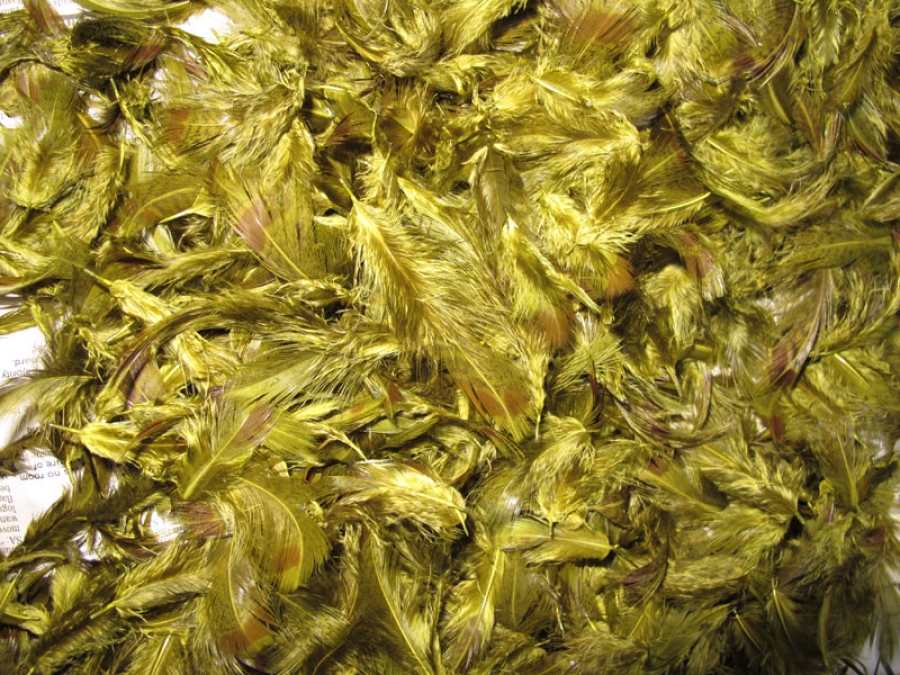
Goldn olive dyed feathers placed on a newspaper. Notice how much darker they look when wet.
Drying
Then spread the fibres out on a thick wad of newspaper. Place them in a warm, sunlit area of the house or workshop to dry. Avoid any area that may get a sudden draft. Drying may take from 24 to 48 hours and you must test the material well for any sign of dampness before you pack it away in containers.
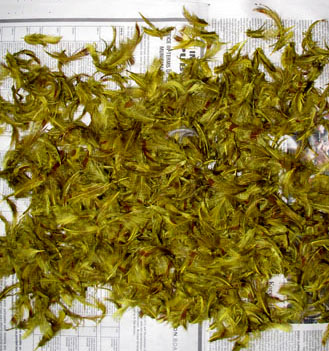
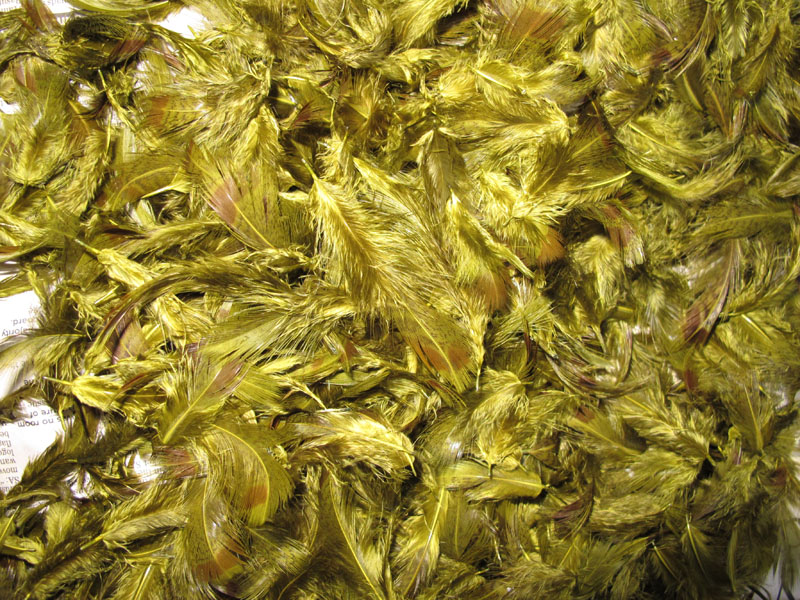
Golden olive feathers spread and drying above and fully dry below
Batch dyeing
Because the whole process of dyeing fly tying materials is long and tedious I batch dye. In this example I wanted to dye French partridge feathers both golden Olive and Medium Olive. So once the Medium Olive was done I simply drained the pot, cleaned it and replaced it with a Golden Olive dye solution and vinegar and a second bunch of the pre-washed feathers. With Klipspringer hair I often dye in bright yellow, then olive and finally an insect green, all in the same sitting.