In this article I only want to deal with taking pictures of fish; no anglers included. I want to illustrate some of the do’s and don’ts I’ve learned over the years and to give you some tips to improve your own pictures. Later in the month I will touch on the interesting but challenging art of capturing fish under water. I’ll end off this series with some general thoughts on fly fishing photography, the gear I use and how to capture some of the poetry in the sport. I have asked two professional photographers, Denver Bryan (www.denverbryan.com/ ) and Dave Lambroughton to add their own thoughts. I’ll post these as soon as they are in.
Always hold your breath when you take pictures of fish out of the water. It will remind you when to submerge the fish to let it breathe.
Preferably compose the picture so that the whole fish is included with a little more subject matter in front of it than behind it. Make sure that no part of the fish is in shadow. However, close ups of a fish’s head can be attractive, but ideally you want a macro lens to get this just perfect.

Unfortunate shadow over the fish
It’s good to have your angler covers his hands, wrists and arms. Fishing gloves and wrist guards are useful, but long sleeved shirts are almost essential. Cloth is better to look at than a hairy arm and in bright sunlight bare skin will over-expose, or ‘blow out’, parts of your picture.

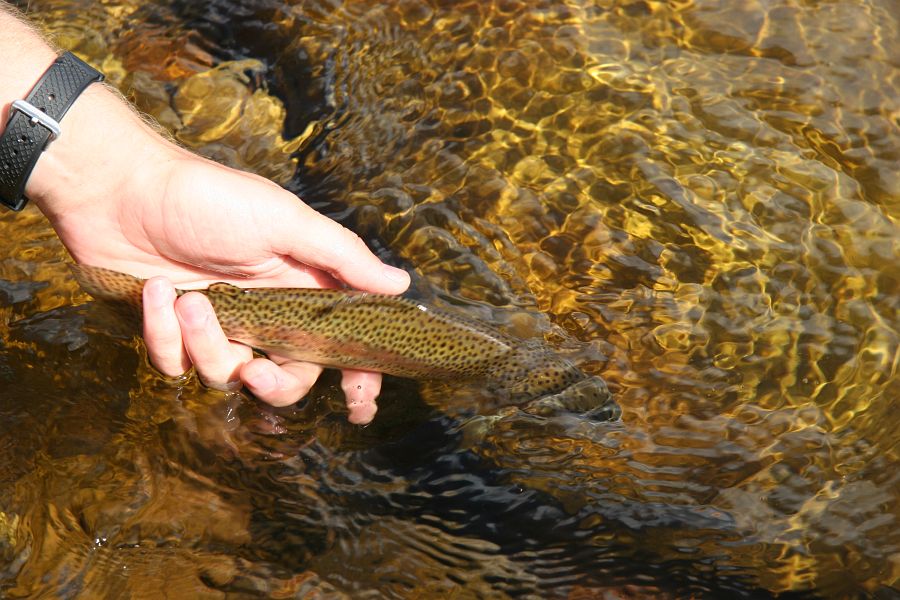
Thumb correct, fish pointing slightly down (left) and note how the hand 'blows out' in the picture above
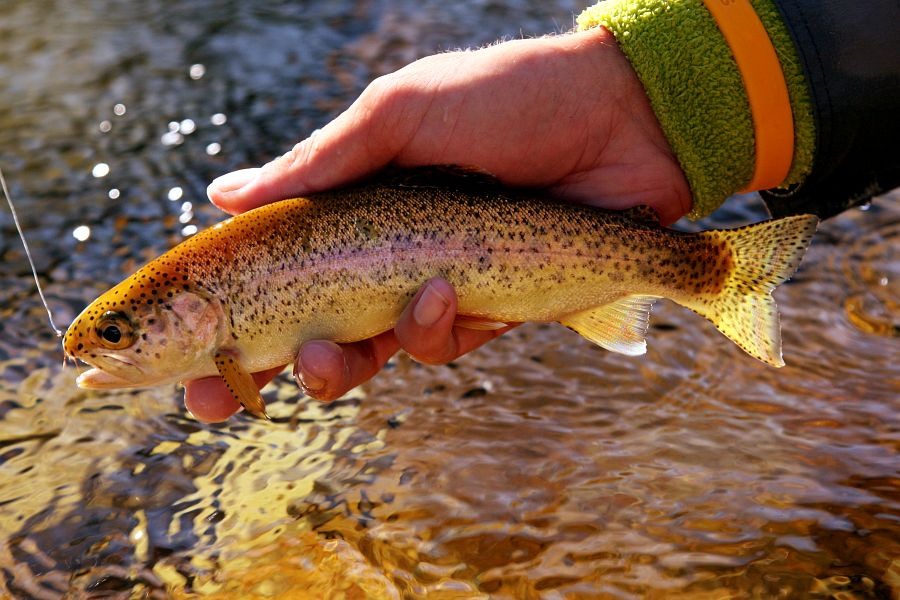
The angler must hold the fish loosely, with his thumb lifted and fingers as open as possible, not with his hand wrapped around the body of the fish which gives the unhappy impression that the fish is being squeezed.
This is a vital point. Ask the angler to hold the fish at a right angle to the water surface, in other words in a natural, upright swimming position. If he tilts the fish towards the camera (a natural inclination by the way) light will reflect off the side of the fish straight into the camera lens and the fish will ‘blow out’. The same goes for bright, metallic reels and other objects that reflect light. Shooting fish you should check the LCD screen after taking a shot to see if the highlights are blowing out.
.

Note the fish and reel blown out (above) but with a slight straightening the reel is fixed, the fish improved but not yet perfect. More straightening of the fish would have fixed that as it has the reel.
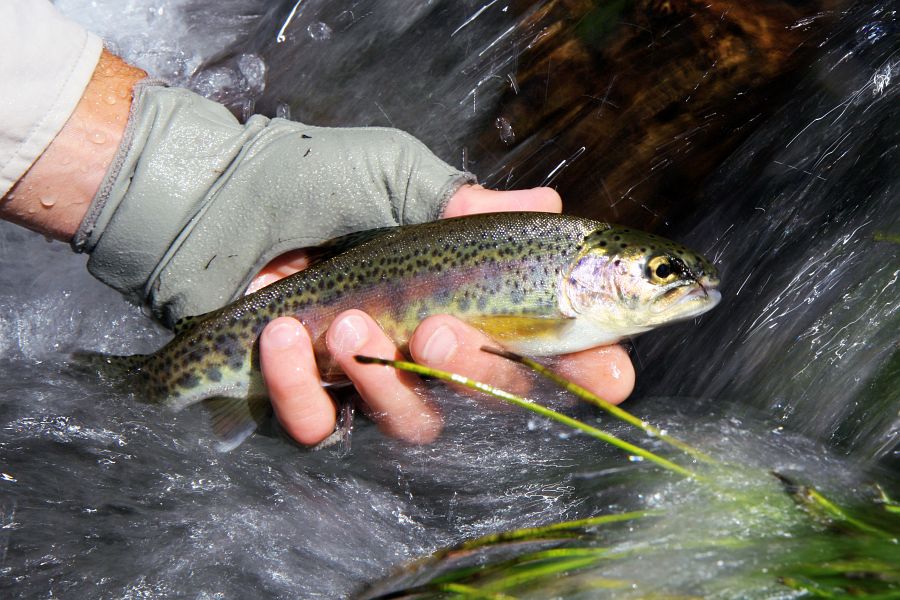
Think of positioning the fish near the water surface and preferably with its head pointing slightly downwards, as if the angler is about to release it.
Then try to get some water feature in the background. Small waterfalls are gems, but bubbles and fast water will work too.

Waterfall effects
To freeze droplets of spray or capture water splash around the fish set your camera to shutter priority and select 1:500th of a second. Conversely in running water you can get marvellous starburst effects, or a satin-like water effect, by slowing the shutter to around 1:30th of a second. You should try both. Bright pebbles, water grass, roots or weeds will also add interest as will including a rod or landing net in the picture.

Water splash around the fish - very high shutter speed
Starburst effect with a slow shutter speed


Almost the same picture just fast shutter speed (left) slow shutter speed (right)
In still, flat water look for reflections under the fish. If you have a circular polariser on the front of your lens turn it until the reflection is brightest.
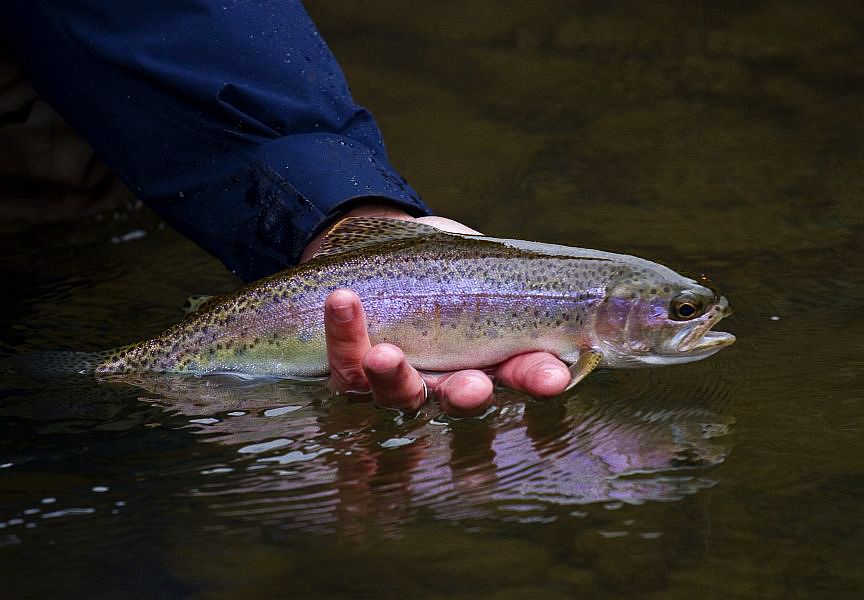
Reflections become a major part of this picture
If there is one aspect of your picture that has to be in pin point focus it is the eye. If your camera allows you to select a focus point do this and place the point right over the eye.
The jury is out on whether you want to have a fly in the picture or not. Personally I don’t mind it providing the fly is appropriate. Meaning that a picture of a little 10 inch rainbow with a # 6 Woolly Bugger hanging from its lip doesn’t really work – even, heaven forbid, if that’s how you actually caught it!
Here are some ideas to add interest and diversity.
With the camera on a fast shutter speed ask the angler to slowly lift the fish so that you get the added and very attractive effect of water dripping off it. I suggest doing this with the camera set on high speed continuous shooting mode.
High shutter speed, continuous shooting mode captures the droplets
Come up really close on your fish with an ultra-wide angle lens. This works best with bigger fish and gives an incredibly different and fascinating perspective.
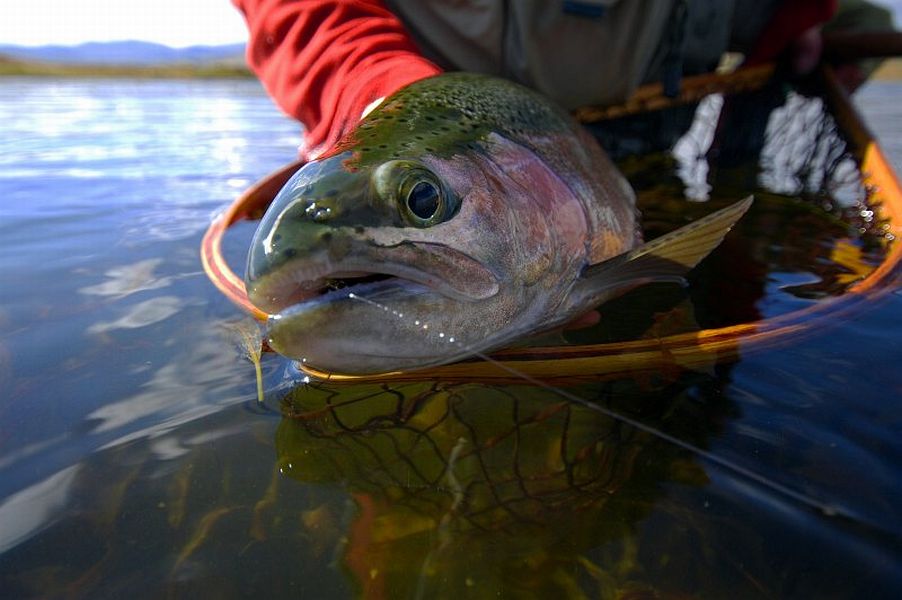
Ultra wide-angle effect
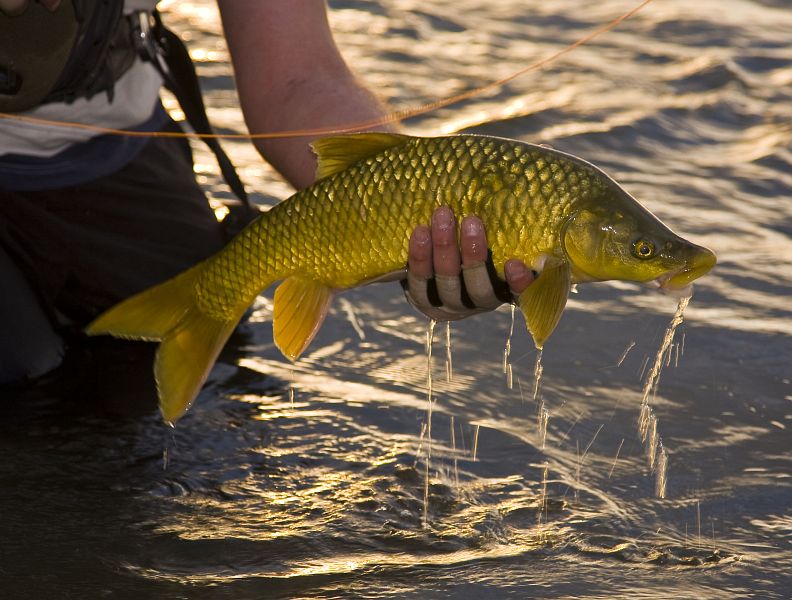
Shoot some shots in late afternoon or evening light against the sun. This will light up the fins, especially the tail fin.
Backlit subject - note the tail glowing
Use a wide aperture (f/5.6) to reduce the depth of field to totally exclude the background. This has the effect of enhancing your subject, but it is also convenient in that it increases your shutter speed.

A wide aperture shots takes the background away (Billy de Jong photograph)
Adding a wooden landing net brings more interest and some perspective to a picture.
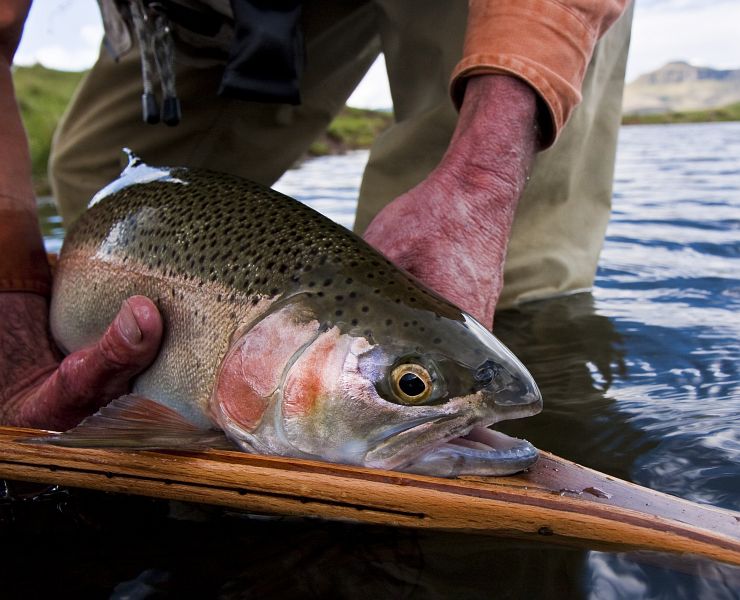
Wooden landing net. A convenient prop for big fish